
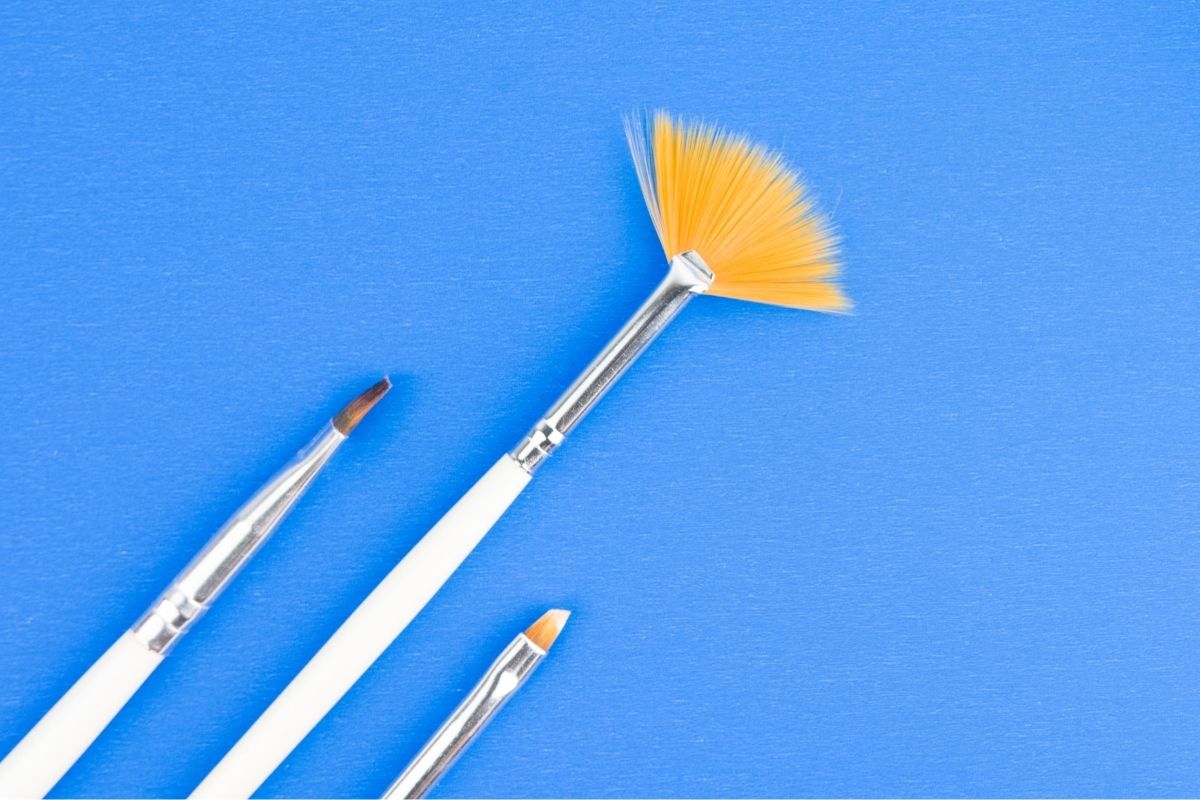
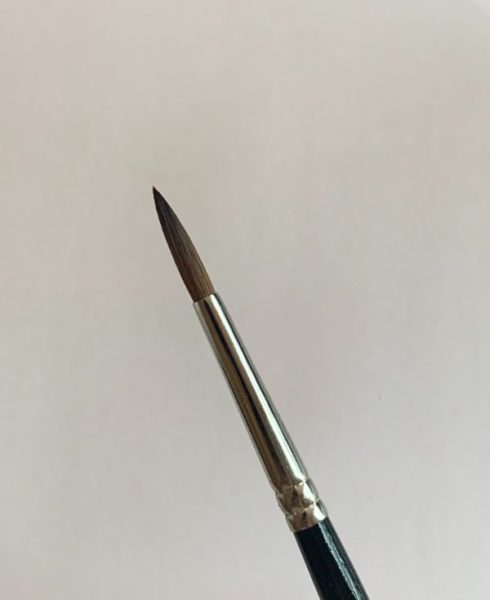
You may notice that when you purchase a new brush for nail services, the bristles are stiff and contain a white residue. This residue is Arabic gum, a starch film. All manufacturers make brushes with this gum to protect and keep your brush in shape in transit and before use. This gum has to be removed thoroughly before using the brush for the first time as if it isn’t, it can cause discolouring of your product and the hairs on the brush to split down the middle.
To prepare your nail brush:
1.Remove the plastic sleeve from your new brush. Do not place this back when the brush has been in contact with acrylic liquid as the liquid can cause the plastic to melt together with the hair of the brush.

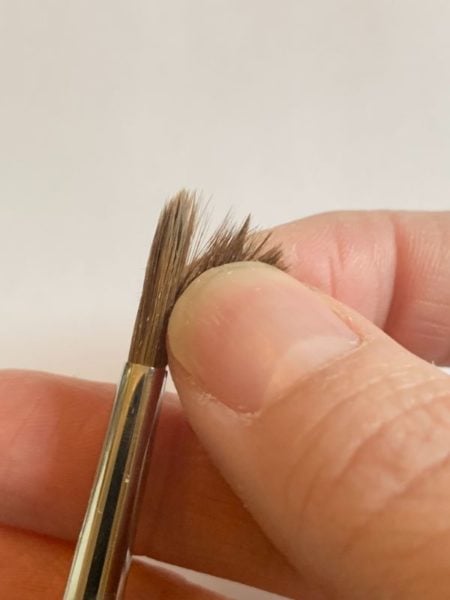
2.Using your fingers, carefully break the Arabic gum on your brush hairs and start to tease the hairs of your brush. You will see a fine dust coming out of the brush. This is the gum residue being removed. It is essential to do this until there is no dust remaining. This is the only time you should ever touch your brush bristles. Touching your bristles once you start using the brush can lead to overexposure for you and contaminated product for your client.
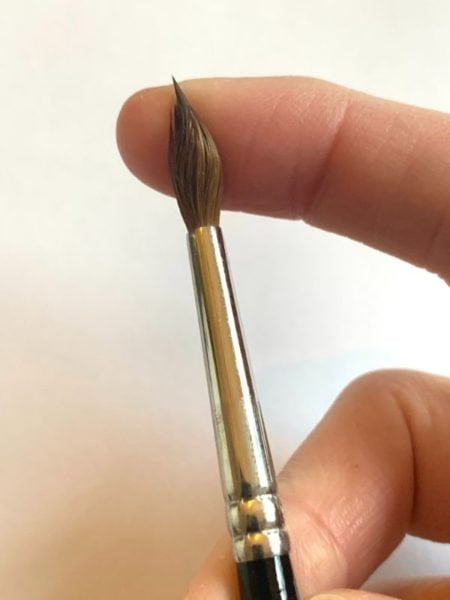
If you find it tricky to use your fingers, especially if you don’t have much free edge, you can also use a tool such as an orangewood stick or cuticle pusher to get right into the belly of the brush to loosen any remaining gum. As you start this process, the brush will appear to fluff up. This is normal and will stay like this until you prime your brush.
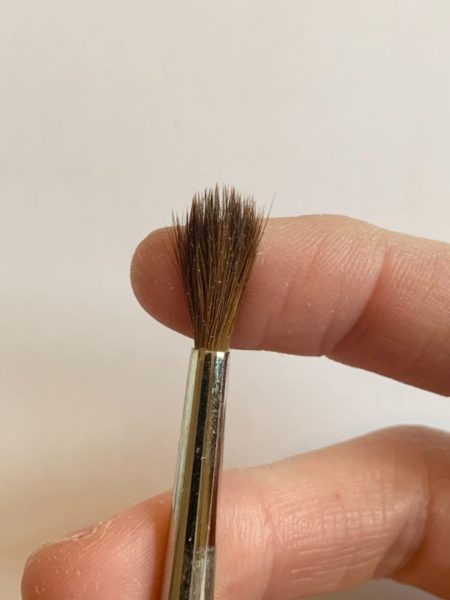
3.The process can take quite a while to remove all the residue from a brush, especially with larger bellied brushes. Once you feel like you have removed all of this residue, hold the brush up to a light source to help you see if any residue dust is still present. If so, continue until this can no longer be seen.
4.Once all the residue has all been removed you now need to prime your nail brush, depending on which medium you will be using. When priming and cleaning your brush, always use a gentle twisting motion to keep your brush in a point and hold its shape.
- Acrylic Brushes
Following the steps above, now prime the brush in monomer. Put a small amount of monomer into a dappen dish and dip your brush in and out of it until the brush has soaked up some monomer. Remove excess monomer on an absorbent wipe and dispose of correctly.
- Gel Brushes
Following the steps above, prime with clear gel. Work the gel into the brush using gentle stroking movements until the hairs look darker. Check that all the hairs are coated in gel then remove any excess gel with a lint free wipe. Once primed, replace the lid as sunlight and UV light will cure the gel on the brush. Priming your gel brush will help gel move more fluidly and prevent staining to your brush.
- Acrylic Paint / Watercolour Brushes
Following the steps above, now prime your brush in water or use a baby wipe. Some techs prefer to use a small amount of cuticle oil or specific art brush soaps.
It is essential that you spend the time to prepare your nail brushes correctly and thoroughly before their first use, ensuring your brush lasts longer and you won’t experience any problems in the future.
Post time: May-18-2021